Backup / Restore
VMFit allows you to back up your app preferences and activities, then restore them later on the same device or a new one. You can also use Google Drive sync to back up, restore, and keep your activity history synced across devices.
Backup
To back up your data, navigate to More and select the Backup / Restore option. From the Backup / Restore screen, select Backup. You will be prompted to choose a location where the backup file should be saved. After doing so, the backup process will start.
What's included in a backup
The backup process creates a zip file containing some of your personal preferences, such as measurement units and weight, as well as all of your activities.
Note: Backing up your data may take some time, depending on the number of activities you have tracked with VMFit.
Note: Backing up your data may fail if your device does not have enough free storage space.
Restore
Restoring a backup involves selecting a previously created backup zip file. Once the file is selected, VMFit verifies the integrity of the backup file, and if everything is valid, the restore process starts.
Your personal preferences and all activities tracked with the app will be restored.
Note: Restoring your data may take some time, depending on the number of activities found in the backup archive.
Note: Restoring a backup erases all activities and personal preferences currently stored in the app and replaces them with the data from the backup.
Google Drive Sync
VMFit offers Google Drive sync to back up, restore, and keep your activity history synced across devices. To start a Drive sync, go to More, select Backup / Restore, and then tap Sync with Google Drive.
You will need to authorize VMFit to access your Google Drive. If notification permission has not already been granted, VMFit may also ask for it so it can show sync progress and completion notifications.
How it works
VMFit stores your activity history in your personal hidden Google Drive app data folder and syncs it with your other devices. The data remains in Google Drive even after VMFit is uninstalled, unless you explicitly remove it.
Drive sync is triggered manually. Changes made on one device will not appear on another device until you run Google Drive sync on both devices.
During sync, VMFit uploads new, changed, and deleted activities from your device. It also downloads new activities uploaded by your other devices, updates activity properties modified on other devices, and removes activities that were deleted on other devices.
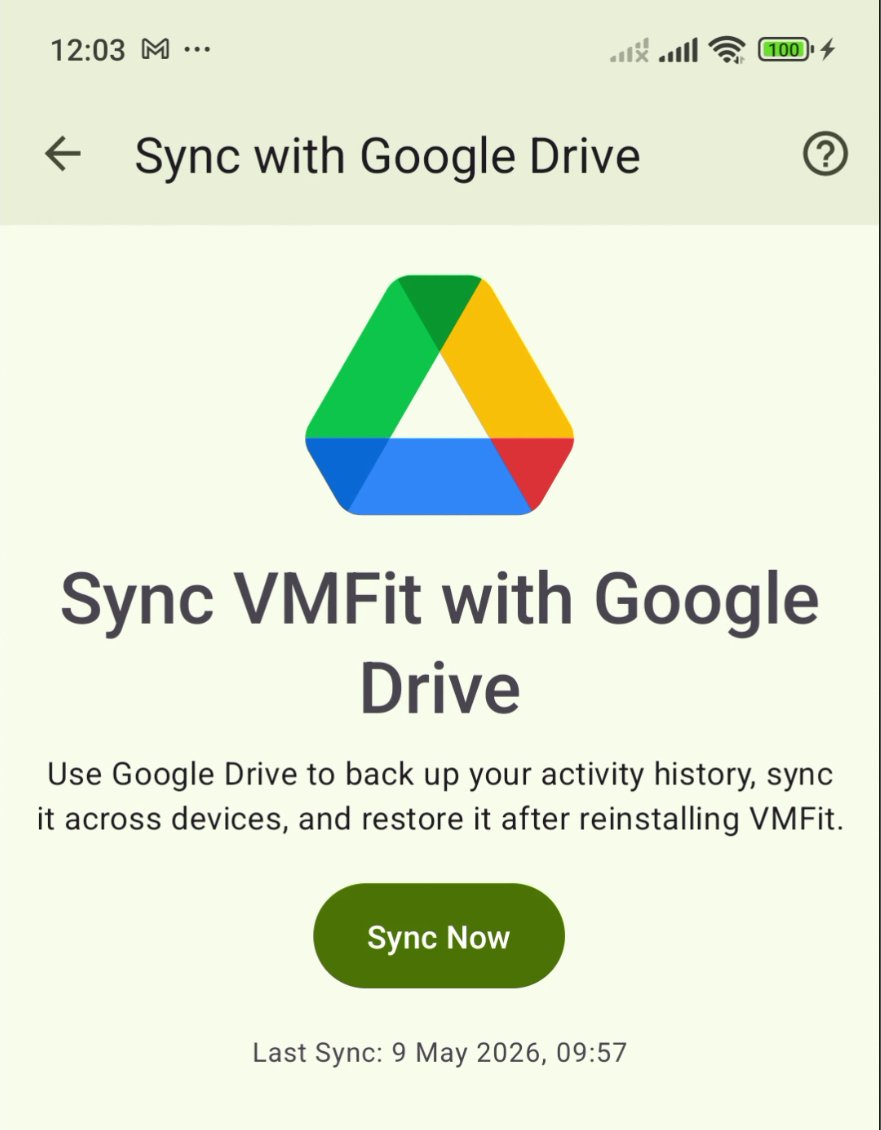
The Sync with Google Drive screen shows the last time sync was triggered on this device. During sync, VMFit shows a notification indicating that the device is currently syncing with Google Drive. The sync button is disabled and its title changes to Sync in progress...
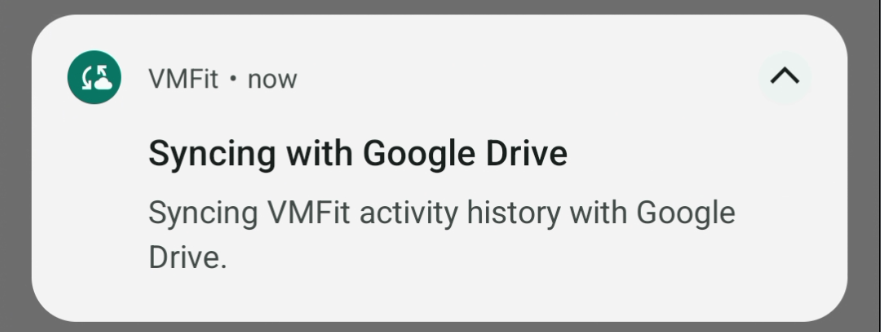
Tapping the notification opens the sync screen. When sync is complete, VMFit posts a notification letting you know that your activity history is up to date.
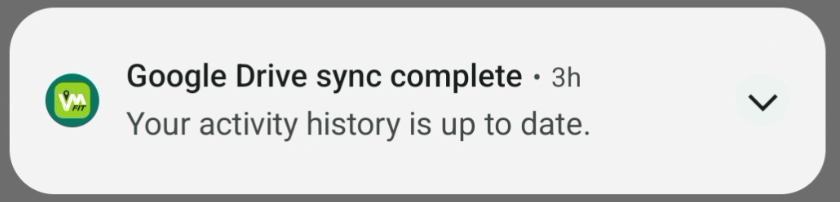
Tapping this notification opens activity history.
If Drive sync fails, VMFit will notify you that it had trouble syncing your activity history. Tapping the error notification opens the sync screen again. You can retry the sync from there.
Removing your data from Google Drive
To remove VMFit data from your Google Drive, open drive.google.com on your computer. Click the gear icon in the top-right corner and select Settings, then open Manage apps. On the Manage apps connected to Drive screen, find VMFit, click Options, and then select Delete hidden app data.